Landlords: How to take property photos
Good photographs will help you market your rental property. By adding them to your rental listing, you can give prospective tenants a preview of the property, which might encourage them to arrange a viewing. And, they act as a visual reminder to prospects after the visit, which might help them make a decision in your favour. That makes an investment in photos a sound business decision.
The question is: how to get the right photos? You could hire a professional photographer specialising in interiors, but that could prove expensive. Or, you could take your own photographs. It will clearly be different from taking family or holiday snaps. But, by following a few simple guidelines, you will be able to produce competent results that help you market your property to the right tenants.

Taking photos on a phone is fine
The good news is that you don’t have to invest in expensive photographic equipment. If you have a number of properties and you are marketing regularly, you might want to buy a DSLR (digital single lens reflex) camera with interchangeable lenses and a tripod. But, if you’re a private landlord with one or a handful of properties, you can get good results from a smartphone camera.
Smartphone cameras are capable of producing high-quality images that will reproduce clearly on a printed or digital listing. The important thing to remember is that content is more important than equipment. It’s what you photograph and how you get results that will appeal to tenants that matter.
If you don’t feel entirely confident before your first photo session at the property, have a trial run at home while following our guidelines.
Show the whole property
Prospective tenants want a picture of the whole property. How big are the rooms in your listing? How light are they and are they well decorated? How well does any existing furniture fit in the room? What about the outside, is there a reasonable parking space and a tidy garden? Photographs can help answer all those questions, so it’s important to plan your photo session so you cover everything. Depending on the size of the property, you should cover the following areas: Bedrooms, Bathrooms, Living room, Dining room, Kitchen, Utility room, Shared spaces like stairways and entrance lobbies, Outdoor spaces including garden, garage or parking space and any outbuildings including an exterior view of the front and rear of the property.
Make sure it’s tidy
Before you take any photos, make sure the rooms are tidy and in reasonable condition. Peeling paintwork, mould or torn carpets won’t impress anyone and an untidy room suggests previous occupants weren’t too careful. A quick check on the property is essential and a landlord checklist of jobs to take care of will make sure you don’t miss anything. If the property is empty, it should be straightforward to get the rooms ready for photography — and the visits. But, if your current tenants are still on site, you may need to use your skills of persuasion or offer a free one-off cleaning service. The same applies outside. Make sure any grass is cut and the garden isn’t overgrown with weeds. Check that bins are empty and there is no other rubbish lying around the property.
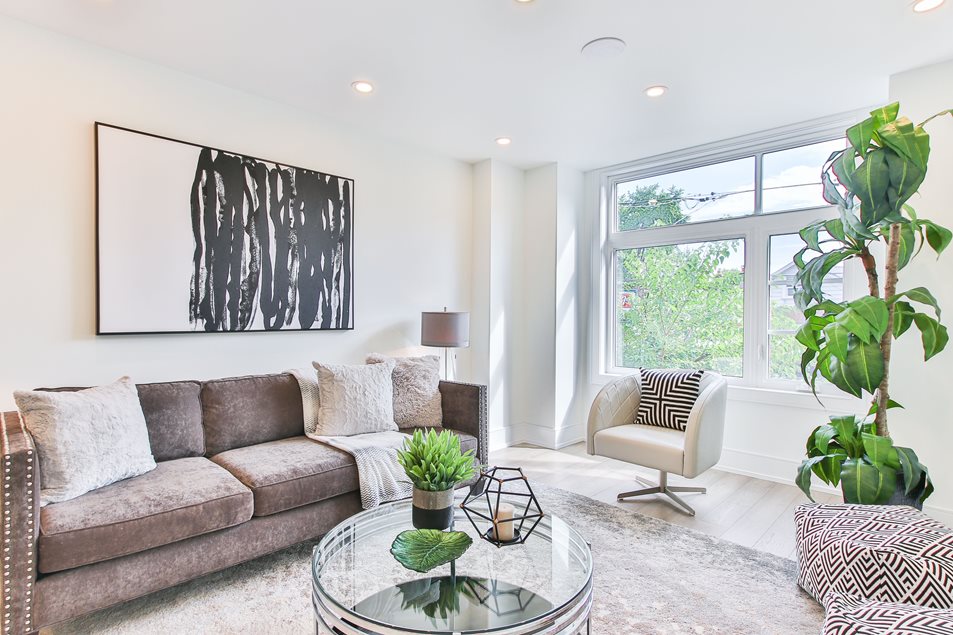
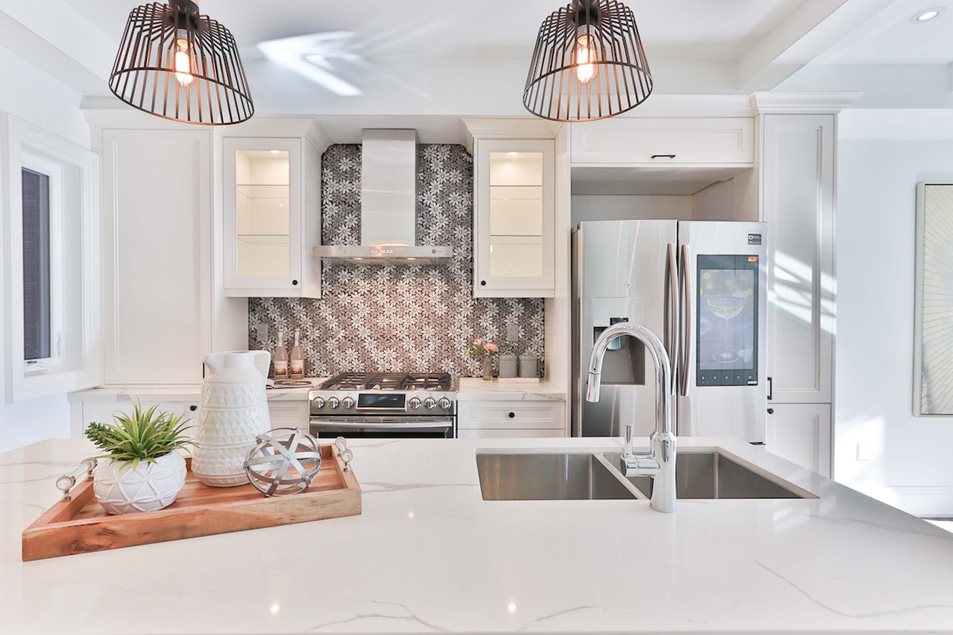
Give it a homely look
Your new tenants are looking for somewhere to call home, so add some homely touches. If the property is furnished, adding cushions to seats, putting flowers and books on tables, and maybe putting out some utensils and ingredients in the kitchen all help prospects to visualise how they would feel or how they would use the space. As well as ‘big picture’ photos of whole rooms, photograph small details that look attractive. They add interest when you put together photos with your listing. Have a look at some interiors magazines; you’ll quickly see the hand of an ‘art director’ in the best room photos. It can be difficult to create this ‘mood’ if the property is unfurnished, so you may need to bring a few temporary ‘props’ to introduce a sense of scale to the room.
_4346_953_85_32_o.jpg)
Capture the best impression
This is where you need to practice your photography before covering the property. Try photographing small and large rooms from different positions – usually in one of the corners – to find the angle that makes the room look spacious. Use similar positions when you photograph the property. Practice taking some photographs at different times of the day and in different light conditions. A bright sunny day with the curtains open creates lighting conditions that make rooms look and feel more attractive. Trying to shoot at night with artificial light will just not give the same impression. Make sure that light is not too strong or causes awkward reflections. By taking and checking a few quick test shots, you’ll have the experience to decide the best time to photograph your property and whether to go ahead on the day or wait for better light conditions.
Support for landlords
Good photography is just part of the process of getting tenants on board. If you would like support with other aspects of renting, at Treehaus we offer a comprehensive range of low-cost online letting services, from a free rental valuation and advertising on Rightmove and Zoopla for just £1, to a customisable tenancy agreement template, rent collection, rent guarantee, and tenant credit check and tenant referencing.